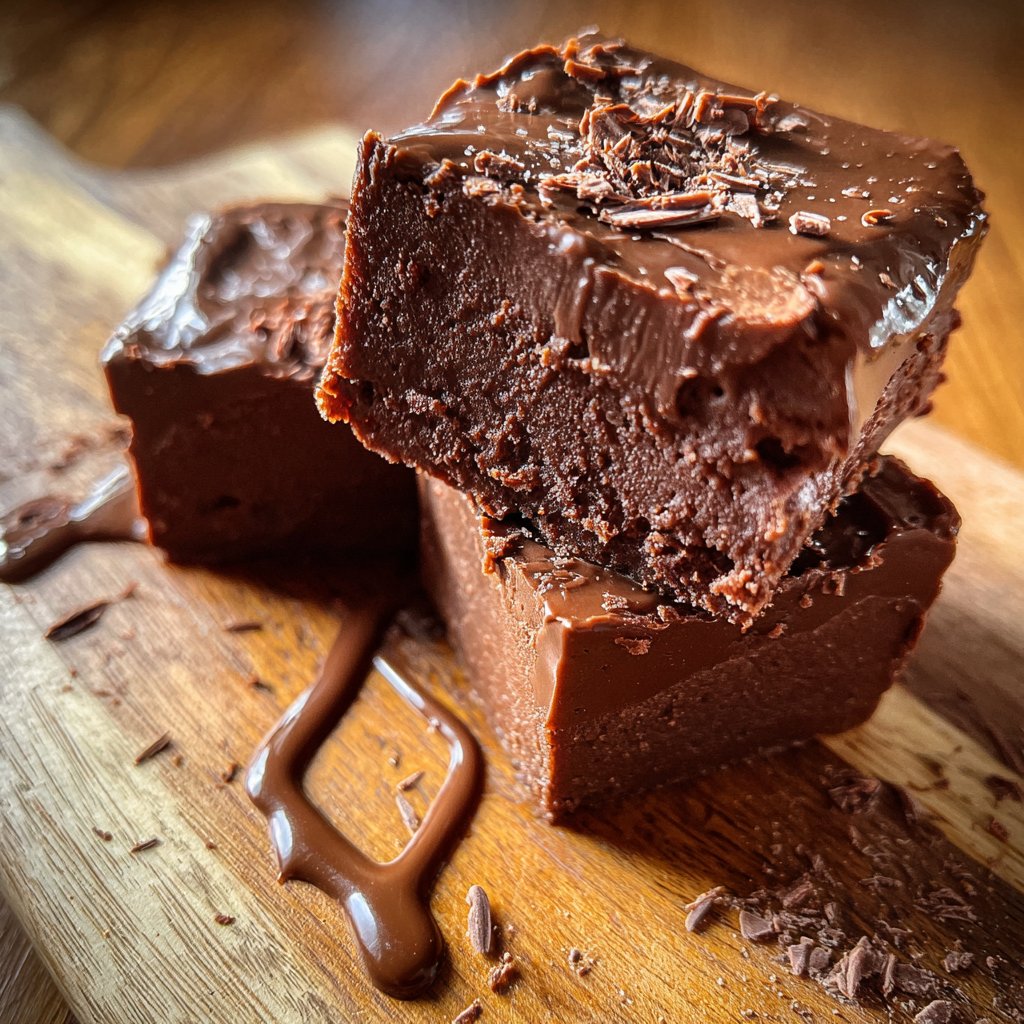
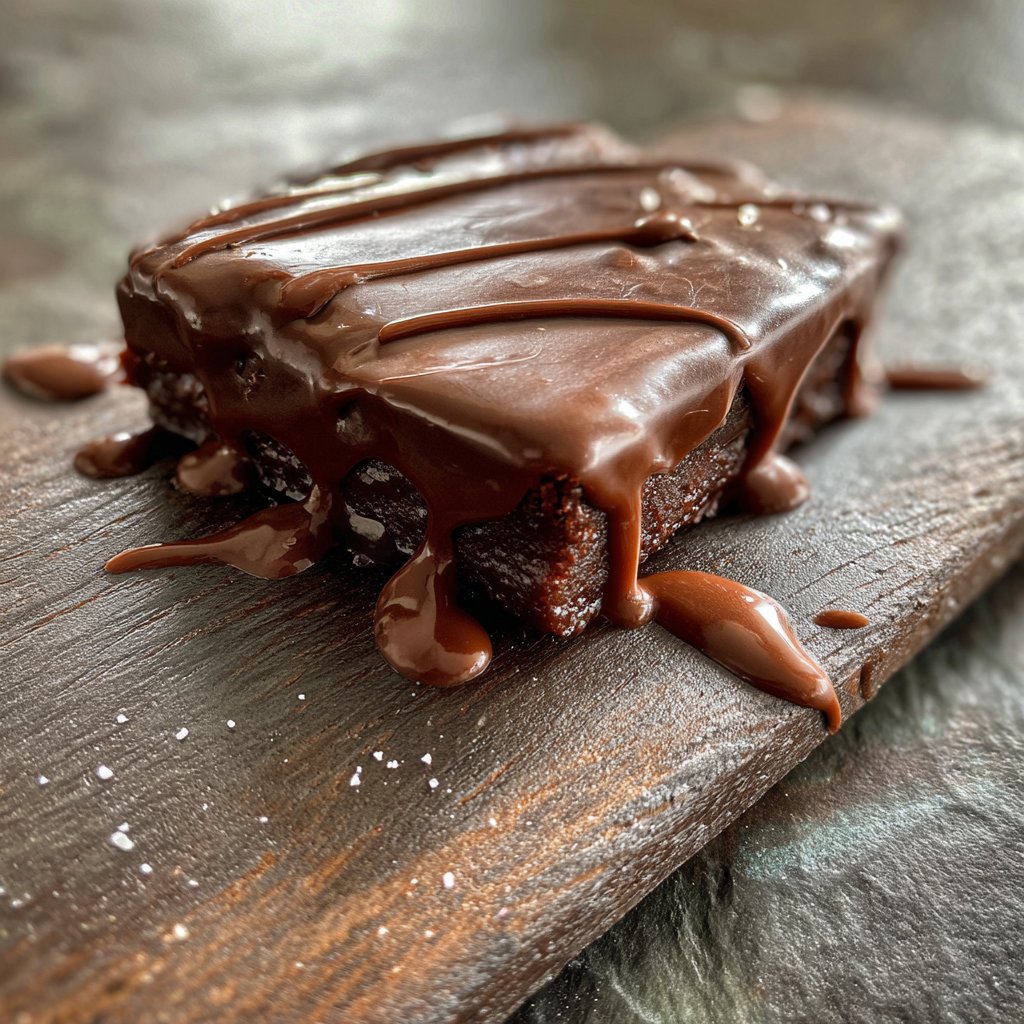
Creamy Chocolate Fudge Squares
Highlighted under: Cookie Jar | Biscuits & Bars
I found the perfect recipe for indulgence with these Creamy Chocolate Fudge Squares. They combine rich chocolate with a silky texture that melts in your mouth, making each bite a delight. What I love most is how simple they are to make—just a few ingredients come together to create a decadent treat that’s perfect for any occasion. Whether you’re celebrating or just craving something sweet, these fudge squares will impress everyone. Trust me, once you make them, you’ll want them on repeat!
When I first made these Creamy Chocolate Fudge Squares, I was amazed by how quickly they came together. The method is straightforward: melting chocolate and mixing in sweetened condensed milk creates that irresistible creamy texture. I love that you don’t need an oven—just a stovetop and a pan. I recommend using high-quality chocolate for the best flavor, as it really makes a difference.
Every time I serve these squares at gatherings, they disappear in no time! The combination of the rich chocolate flavor and soft texture means everyone will be reaching for seconds. A little tip: allowing them to chill completely before cutting helps achieve those perfect, squared edges.
Why You Will Love This Recipe
- Rich chocolate flavor paired with fresh orange zest
- Creamy texture that melts in your mouth
- Perfect for celebrations or as a sweet indulgence
Understanding Your Ingredients
The key to achieving that rich and creamy texture in these fudge squares lies in the chocolate chips and sweetened condensed milk. Semi-sweet chocolate chips provide a perfect balance of sweetness and chocolate flavor. When combined with sweetened condensed milk, they create a luscious mixture that sets perfectly in the refrigerator. For a twist, you can swap semi-sweet chips with dark chocolate chips for a deeper flavor or even use milk chocolate for a sweeter finish.
Unsalted butter is essential in this recipe not just for flavor, but also for achieving a glossiness that enhances the fudge's appeal. It helps the chocolate mixture emulsify, resulting in a smooth, creamy texture rather than a grainy finish. Make sure to use high-quality butter as it will greatly influence the overall taste of your fudge. If you are looking for a dairy-free option, coconut oil can be used instead, though it may alter the taste slightly.
Perfecting the Fudge Technique
When melting the chocolate mixture, keeping the heat on low is crucial. This prevents the chocolate from seizing up and becoming clumpy. Stir continuously with a silicone spatula for even melting; you’ll know it’s ready when the mixture is smooth and glossy. If you notice it’s starting to thicken too much, remove it from the heat immediately and keep stirring until fully melted. This labor of love results in a delightful fudge that will impress with its silky texture.
After pouring the fudge into the prepared pan, it’s important to spread it into an even layer. This ensures uniform thickness for cutting later on. You can use the spatula to gently push it into the corners of the pan. Additionally, if you want to add texture or flavor, consider folding in chopped nuts or dried fruit just after removing it from the heat. These additions provide a crunchy contrast to the smooth fudge.
Ingredients
Gather these simple ingredients to whip up your creamy fudge squares:
Ingredients
- 2 cups of semi-sweet chocolate chips
- 1 can (14 oz) sweetened condensed milk
- 2 tablespoons unsalted butter
- 1 teaspoon vanilla extract
- Pinch of salt
Make sure to have these on hand before you start cooking!
Instructions
Follow these easy steps to create your fudge:
Melt the Ingredients
In a medium saucepan, combine the chocolate chips, sweetened condensed milk, and butter over low heat. Stir constantly until the mixture is fully melted and smooth.
Add Flavor
Once melted, remove from heat and stir in the vanilla extract and a pinch of salt, mixing well to incorporate all the flavors.
Pour into Pan
Line an 8-inch square pan with parchment paper. Pour the fudge mixture into the prepared pan, spreading evenly with a spatula.
Chill and Cut
Refrigerate the fudge for at least 2 hours until it is firm. Once set, lift it out of the pan using the parchment paper and cut into squares.
Enjoy your delicious homemade fudge!
Pro Tips
- For an extra touch, consider adding nuts or a sprinkle of sea salt on top before chilling. This adds a delightful crunch and contrast in flavor.
Making Ahead and Storing
These Creamy Chocolate Fudge Squares can be made up to a week in advance, making them a fantastic option for parties or gifting. Properly stored in an airtight container in the refrigerator, they stay fresh for up to a week. If you're making them for an event, consider cutting them into squares and individually wrapping them in parchment paper for an elegant touch.
For longer storage, these fudge squares freeze remarkably well! Slice them into pieces and store them in a freezer-safe container, separating layers with parchment paper to prevent sticking. They can last up to three months in the freezer. When you're ready to enjoy, simply let them thaw in the fridge overnight or at room temperature for a couple of hours.
Troubleshooting Common Issues
If you find your fudge isn’t setting after chilling, it could be due to over or under-measuring the sweetened condensed milk. Ensure you’re using a full 14-ounce can, as this ingredient is crucial for texture. If your fudge is too soft and gooey, try putting it back in the refrigerator for an additional hour to firm up more. Conversely, if your fudge is too firm, consider gently reheating it and re-emulsifying it with a touch more butter or milk.
In case your fudge develops a grainy texture after cooling, this could happen if the chocolate was overheated. While it can’t be completely fixed, you can try remelting it gently and adding a bit more sweetened condensed milk or butter, stirring until smooth again. This may help revive some of the original creaminess.
Questions About Recipes
→ Can I use milk chocolate instead of semi-sweet?
Yes, milk chocolate can be used, but the fudge will be sweeter and less rich.
→ How long can I store the fudge?
These fudge squares can be stored in an airtight container in the refrigerator for up to two weeks.
→ Can I freeze the fudge?
Absolutely! You can freeze the fudge for up to three months. Just make sure to wrap it tightly.
→ What can I use as a substitute for sweetened condensed milk?
You can make a homemade version with milk and sugar, or use coconut cream for a dairy-free alternative.
Creamy Chocolate Fudge Squares
Created by: The Chefmaxskitchen Team
Recipe Type: Cookie Jar | Biscuits & Bars
Skill Level: Easy
Final Quantity: 12 squares
What You'll Need
Ingredients
- 2 cups of semi-sweet chocolate chips
- 1 can (14 oz) sweetened condensed milk
- 2 tablespoons unsalted butter
- 1 teaspoon vanilla extract
- Pinch of salt
How-To Steps
In a medium saucepan, combine the chocolate chips, sweetened condensed milk, and butter over low heat. Stir constantly until the mixture is fully melted and smooth.
Once melted, remove from heat and stir in the vanilla extract and a pinch of salt, mixing well to incorporate all the flavors.
Line an 8-inch square pan with parchment paper. Pour the fudge mixture into the prepared pan, spreading evenly with a spatula.
Refrigerate the fudge for at least 2 hours until it is firm. Once set, lift it out of the pan using the parchment paper and cut into squares.
Extra Tips
- For an extra touch, consider adding nuts or a sprinkle of sea salt on top before chilling. This adds a delightful crunch and contrast in flavor.
Nutritional Breakdown (Per Serving)
- Calories: 380 kcal
- Total Fat: 26g
- Saturated Fat: 15g
- Cholesterol: 195mg
- Sodium: 85mg
- Total Carbohydrates: 32g
- Dietary Fiber: 3g
- Sugars: 24g
- Protein: 6g